Docker奮闘記 Docker RunでHelloWorld#1
前説
Dockerとはなんぞや?とかまどろっこしいことは置いといて、やっていったことを書いていく。環境
- Windows 10
- OS 名: Microsoft Windows 10 Pro
- OS バージョン: 10.0.17763 N/A ビルド 17763
- 最初のインストール日付: 2019/04/04, 9:13:14
- システムの種類: x64-based PC
- プロセッサ: [01]: Intel64 Family 6 Model 158 Stepping 12 GenuineIntel ~3600 Mhz-
- 物理メモリの合計: 32,689 MB
Dockerをインストールしよう!
Dockerをインストールするのは簡単だ。Get Started with Docker | Docker
Windowsの場合は、Download for Windowsをクリックする。
Docker Desktop for Windows - Docker Hub
ここから、Get Dockerをクリックしてダウンロードする。
ダウンロードしたファイルから画面に従ってインストールすればよい。
Dockerのユーザー登録もしておこう。
Dockerを使ってみる
CUIでやっていこう。 KitematicというGUIソフトも同時にインストールされているが、gitと同じようにコマンドベースのほうが理解が深まると思う。参考文献は、初心者必見の #マンガでわかるDocker ① 〜概念・基本コマンド編〜 PDFダウンロード版 #技術書典 4|湊川あい@わかばちゃんと学ぶ本 発売中|note を読んでみよう。
まずは、Hello World!からやっていこう。
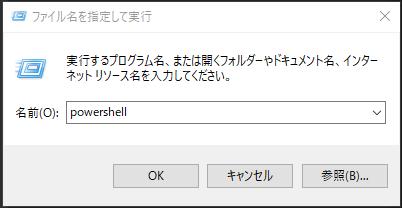
PowerShellを起動する。方法はいろいろあるけれど、一番速いと思う方法。
- [Windows]キー+Rキー
- ファイルを指定して実行から PowerShell と入力
- OKボタンを押す
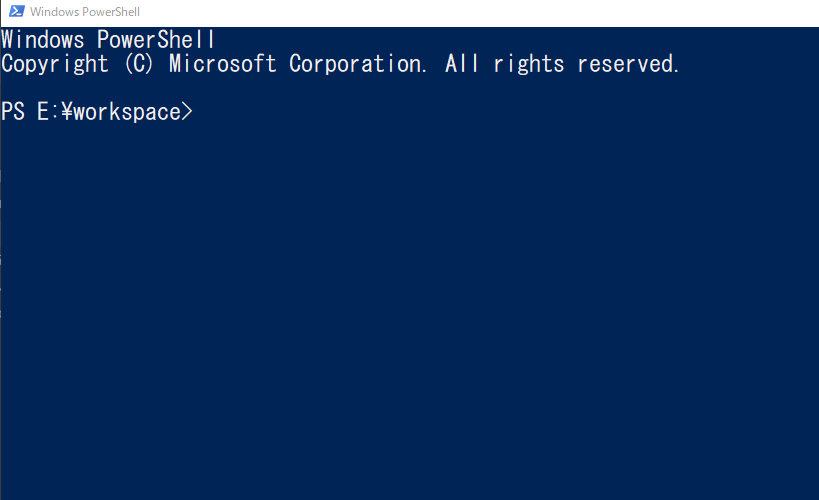
さて、Hello World! をするまえに、動作確認してみよう。
Docker version と打つ。
PS E:\workspace> Docker version
Client: Docker Engine - Community
 Version:           18.09.2
 API version:       1.39
 Go version:        go1.10.8
 Git commit:        6247962
 Built:             Sun Feb 10 04:12:31 2019
 OS/Arch:           windows/amd64
 Experimental:      false

Server: Docker Engine - Community
 Engine:
  Version:          18.09.2
  API version:      1.39 (minimum version 1.12)
  Go version:       go1.10.6
  Git commit:       6247962
  Built:            Sun Feb 10 04:13:06 2019
  OS/Arch:          linux/amd64
  Experimental:     false
PS E:\workspace>
Dockerは、環境のコンテナ化構築をするソフトウェアであるから、あまりHello Worldというものはないが、コマンドの基本というものがあるわけだ。
PS E:\workspace> docker run hello-world
Unable to find image 'hello-world:latest' locally
latest: Pulling from library/hello-world
1b930d010525: Pull complete
Digest: sha256:92695bc579f31df7a63da6922075d0666e565ceccad16b59c3374d2cf4e8e50e
Status: Downloaded newer image for hello-world:latest

Hello from Docker!
This message shows that your installation appears to be working correctly.

To generate this message, Docker took the following steps:
 1. The Docker client contacted the Docker daemon.
 2. The Docker daemon pulled the "hello-world" image from the Docker Hub.
    (amd64)
 3. The Docker daemon created a new container from that image which runs the
    executable that produces the output you are currently reading.
 4. The Docker daemon streamed that output to the Docker client, which sent it
    to your terminal.

To try something more ambitious, you can run an Ubuntu container with:
 $ docker run -it ubuntu bash

Share images, automate workflows, and more with a free Docker ID:
 https://hub.docker.com/

For more examples and ideas, visit:
 https://docs.docker.com/get-started/

PS E:\workspace>
解説は、わかばちゃんに任せよう!
#マンガでわかるDocker ① 〜概念・基本コマンド編〜 PDFダウンロード版 #技術書典 4|湊川あい@わかばちゃんと学ぶ本 発売中|note。
ここで、重要なのは、
docker run ~~~
ただ、実際のところ、これだけを無意識に使うのは、git pullを無意識に使うようなものなので、多少分解して理解してみよう。
docker run の分解
例えば、git pullを分解すると、以下のようになる。git fetch --> git merge
pull[docker run]
create[docker create]
start[docker start]

pull --> create
create --> start
- docker pull で その image 1 を引っ張ってくる。
- docker create で、image から 実際にコンテナ 2 を作成する
- docker start で、コンテナから環境を起動する
- imageという「何ぞや」が作られること
- imageからコンテナという「何ぞや」が作られること
- コンテナによって環境を起動できること
なぜかといえば、何も考えずにdocker runしていくと、ゴミが増えてくるからだからなあ・・・。
ということで、次回はdocker runを分解してwebサーバーの環境であるnginxのコンテナを作ってみたいと思う。
次回:Docker奮闘記2 Dockerでnginx構築編
脚注
1. 実際に起動される環境の元データの塊のようなもの。インストールするDVDを手に入れたようなものと思えばいい。 ↩
2. コンテナがDockerの肝。コンテナは、文字通り港のコンテナを思い浮かべてほしい。コンテナの中身は様々だが、すべてのコンテナはシンプルで同じ形をしている。よって、コンテナの運搬も保管も、船やトラックなどなど非常に多様な方法で簡単にできる。Dockerのコンテナも同じだ。一度、imageからコンテナを作ってしまうと、 どの環境でも同じ実行環境が確保できること 。だから、同じ環境で開発できる。これが強みなのだ。 ↩


コメント
コメントを投稿